Showing posts with label gilding. Show all posts

Friday, May 20, 2011

Friday Egg: Gilding Again!


After seeing the beautiful gilding on the illuminated manuscripts at the Harry Ransom Center and having a chat with a local sign painter and gilder (Gary Martin - check out his website and you will realize that you see something of his every time you get in your car in this town!), I realized that I never did follow up much with the gilding I was playing with last year.  I had just forgotten about it in the rush up to the holidays and then never really got back to it, but it is time I start playing again.  Only way to get better is to ruin a few eggs, right?

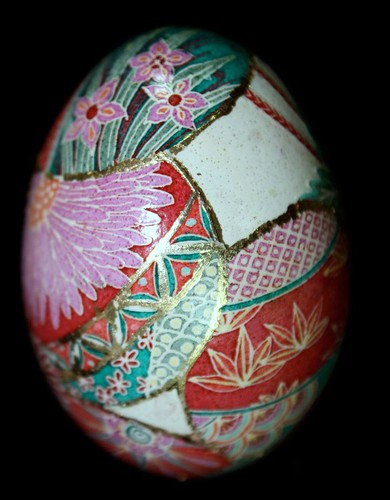
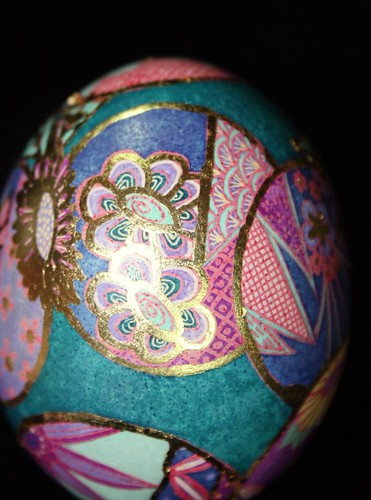
This is one of my favorite designs because it combines random design elements with the geometric precision of traditional pysanky design elements.  I started with a goose egg dyed with regular Ukrainian Gift Shop gold for the base color, then washed it back down to white, then went through red, turquoise, wisteria, light green, black and golden wheat (not necessarily in the order.)

After I melted the wax off, I picked out a few highlights with the gold leaf and then varnished.  At this point, what works best for me is tiny dots.  The details are so small that I can't quite get precise enough with the adhesive if I try to draw triangles or other more linear design elements. I need to look around and see what other tools and adhesives are available for gilding.

I hope you enjoy it!


Happy Friday!


Monday, February 8, 2010

Gilding Revisited

Ostrich Pysanky with Gilding


I revisited the gilding idea today. I just know there is a way to do it that will enhance the qualities of the design without looking tacky or "applied."  Instead of a brush, I used a calligraphy pen nib and that gave me a lot more control over the adhesive sizing.  Now I am able to follow a line instead of just doing dots, which I think is getting more to the look that I am interested in.

The following two photos are of an egg with the sizing applied after the first coat of varnish.  The sizing was a bit "slippery" on the slick surface, so the edges are sloppy:

Pysanky egg with gilding

Pysanky egg with gilding

This photo shows the sizing applied on the bare egg, after dyeing but before varnish.  The sizing kind of sunk in and stayed where I put it. I like these edges a lot better.

Pysanky egg with gilding

This last is an ostrich egg that was already varnished and finished, but I thought some gold accents would be a lot of fun.  There's already so much going on with the design that I thought I might as well do some gold, too!


Pysanky egg with gilding

Pysanky egg with gilding

As you can see, there was some traveling of the adhesive sizing on this egg as well.

I did manage to fix my problem from last week of the gold sheet getting wrinkled before I even got it on the egg.  Since I last bought gold leaf Mona Lisa Art Products has come out with a new product called Simple Leaf that has the gold leaf attached to a piece of vellum which you place on the adhesive.  In theory, only the part of the gold leaf touching the adhesive comes off the vellum. In practice, it kind of tears off more that that, but a quick rub and scrub with a large paintbrush gets rid of the excess and the result is much more shiny and smooth than the regular gold leaf.